Restring Baby Dollikin's Head
PrillyCharmin's Dollikin Head Repair Kit will help you reattach Baby Dollikin's head to the body.
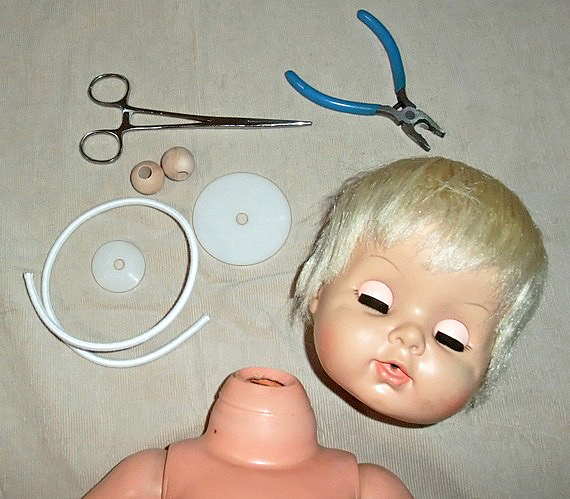
First, remove any loose pieces that may be rattling around inside the body. The original metal pieces are not helpful; they cannot be re-used.
The Dollikin Repair Kit contains the following pieces:

In addition to the Dollikin Repair Kit, I also use a pair of small pliers and some Elmers Glue-All (not School Glue.)
First, remove any loose pieces that may be rattling around inside the body.
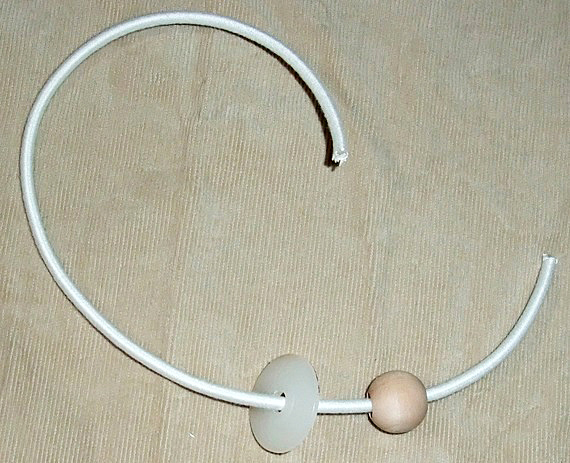
Using the smaller plastic disk, push the cord through the center hole and then through the hole in one of the wood beads.

Then push the end of the cord back through the hole in the small plastic disk. It will be a snug fit, but if you stretch the first cord a little, the second cord will fit through easily. (There's no need to enlarge the hole.) Pull the bead up tight with the disk.
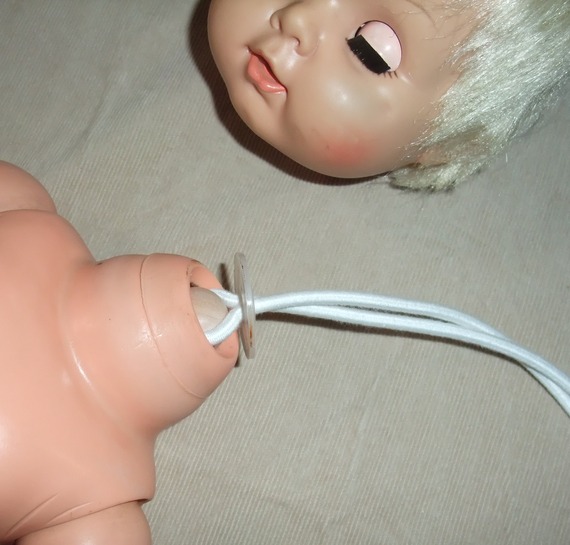
Use a hair dryer to warm the doll's vinyl neck for about 30 seconds. Heat will make the vinyl a bit more flexible.
Next, push the wood bead in the doll's neck.
Then use a small pliers to push the plastic disk inside.
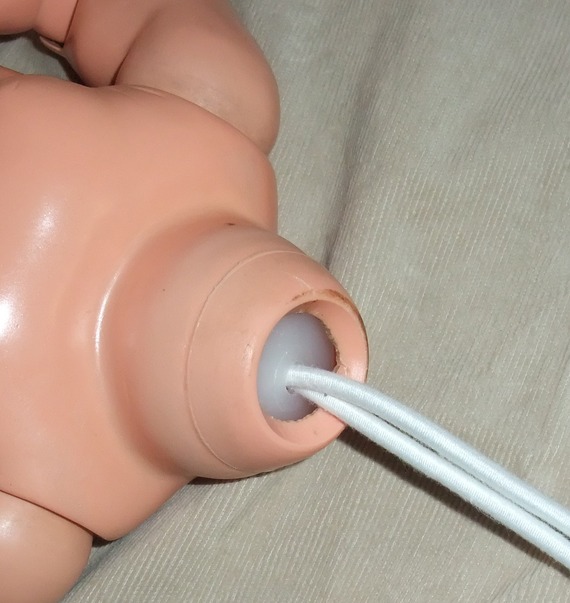
Now the bead and the disk are inside the neck. Pull on the cord so the disk is snug inside the neck.

Slide the large disk onto the two cords and position it tight on top of the neck. Again, it's a snug fit going through the hole but if you stretch the cords a bit, they go through easily.
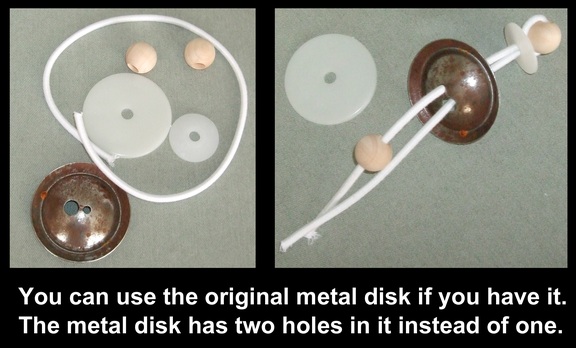
If you have the original metal disk for the head, you can use the metal disk in place of the large white disk.

Slide the wood bead on one of the cords.

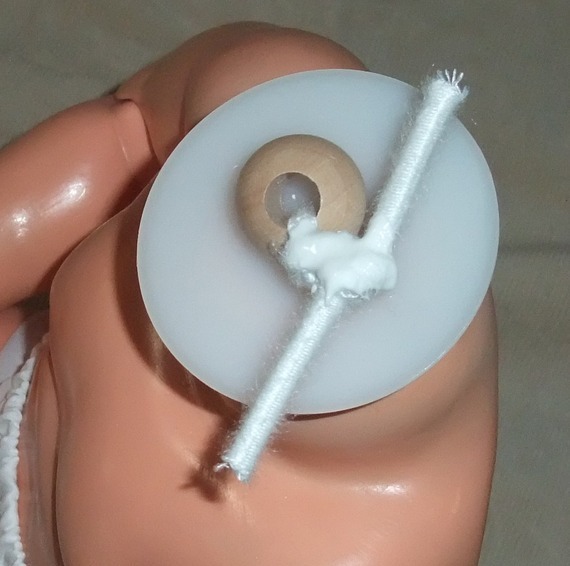
Now pull hard on each of the cords, making them as tight as you can. Tie the two cords together. And pull hard again.

Now you can knot the cord. I tie it three or four times. To ensure that the cords don't untie themselves, I apply some Elmer's Glue-All to the knots. School Glue is not effective. Don't use superglue because it will damage the elastic cord.
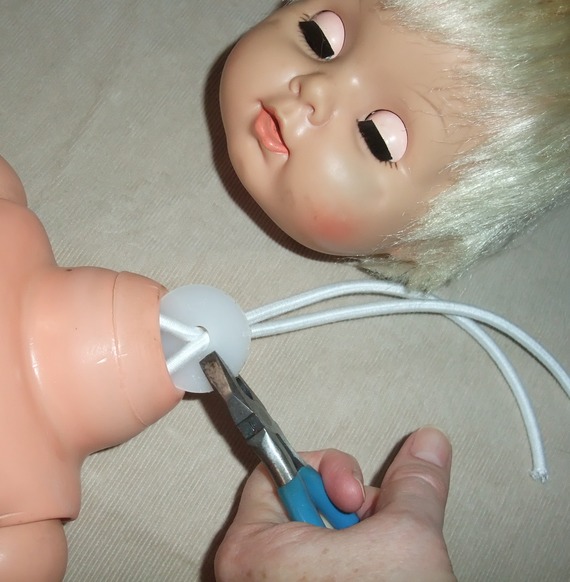
Cut off the excess cord.

Now, it's time to put the head on! If the original metal disk is still inside the head you should carefully remove it.
Again, you can use a hairdryer to warm the vinyl but be careful that you don't melt the doll's hair or eyelashes with the heat. Don't aim the hair dryer inside the head.
Slide the wood bead and the large disk into the opening in the doll's head. I used my small pliers to push the disk. It's a little bit of a struggle but not bad at all: I've had much worse struggle with many other dolls.

Baby Dollikin is back together and her head settles nicely on her neck the way it's supposed to.

Baby Dollikin can turn and tilt her head as usual.

