
Restringing Baby Dollikin
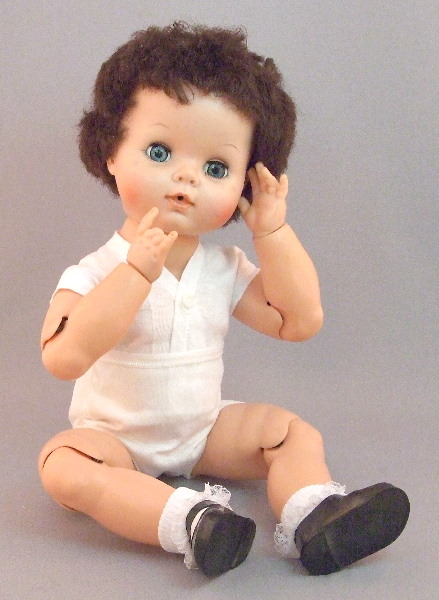
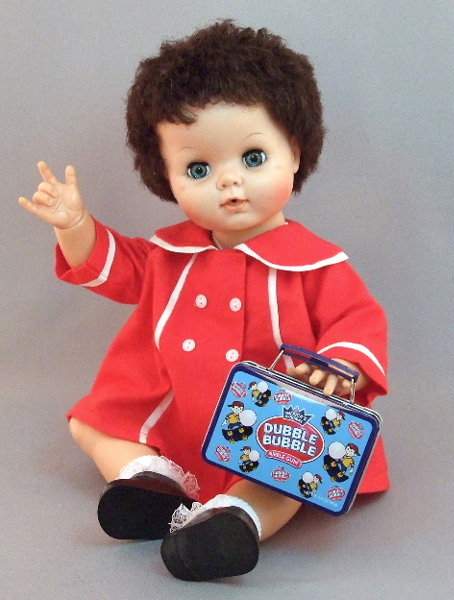
Baby Dollikin was made by the Uneeda Doll company in the late 1950's. She is a very unique multi-jointed babydoll with spring joints that hold on the arms, legs and head, and metal hinge-joints at elbows and knees. Her wrists twist and turn, also.
Baby Dollikin is all vinyl, but she is made of a thick vinyl material that is not quite the same as either hard vinyl or soft vinyl. It feels a bit like crayon. The vinyl material was apparently very thick and viscous because many of the Baby Dollikin dolls have ripples and swirls in their vinyl. This vinyl is durable and holds it's color well, but may not be as flexible or resilient as other vinyl materials of that period.
Baby Dollikin is an especially pretty vintage babydoll, with a very sweet and pleasant expression. She is one of the most collectible vintage babies.
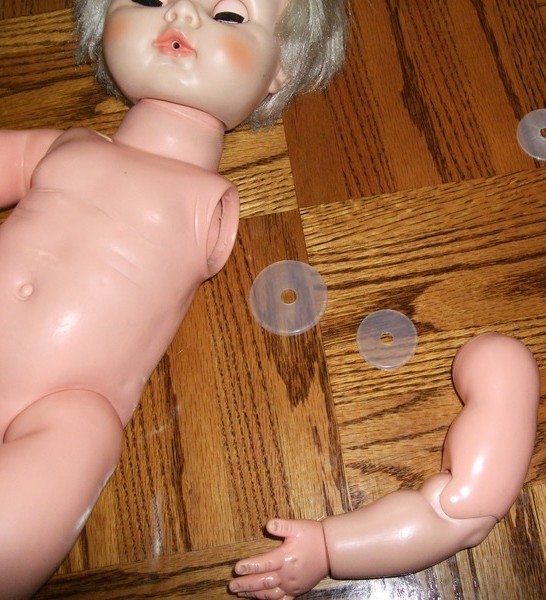
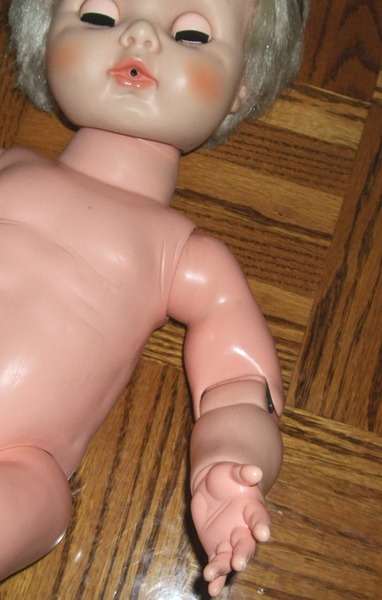
Baby Dollikin's arms sometimes fall off. I haven't seen it happen with the legs but it's possible. These instructions for restringing have only been tested on the arms.
It's nearly impossible to get the arms back on again using Baby D's original parts. I've done it but after 4 hours of struggling and wrestling it only happened by accident or miracle. I'm not willing to try it ever again.
This particular doll lost one arm. I thought I would remove the other and string the two arms together, but could not get the second arm off no matter what I tried. And, I realized that it would take very heavy cord to string the two arms together because Baby Dollikin is a big heavy doll. Maybe that would not be such a good idea considering the stress and pressure the elastic cord would bring to bear on this old and possibly brittle doll body. In order to get enough tension so the doll could pose her arms, it might collapse the doll body.
So I decided to put the one arm back on by itself. This is my alternative method...
PREPARATION:
Remove all the metal pieces that belonged to the arm.
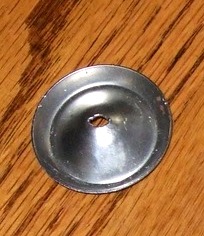
There's a metal disk in the arm so heat up the hole at the top of the arm (with a hair dryer) and use hemostats to gently but firmly remove the disk. The vinyl is not very flexible and it tends to be brittle, so be careful.
There are several more metal pieces, including a large spring, inside the shoulder, that are probably rolling around inside the body. Remove those as well. Don't throw them away, maybe somebody will come up with a good fix someday.
Below are photos of the cord and hemostats that we use. We have all these supplies in our doll shop:

STRINGING CORD SIZES. YOU NEED SIZE 4 or 5 for Baby Dollikin.

7 INCH HEMOSTATS
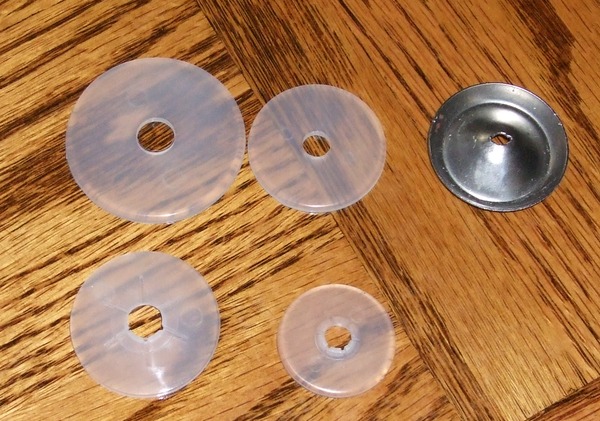
PREPARE THE 35mm PLASTIC WASHER:
Use the plastic washer from a set of 45mm bear joints and a set of 35mm bear joints. The washer is different from the locking disk. The locking disk has cuts around the center hole, whereas the washer is smooth all over. We want the washers.
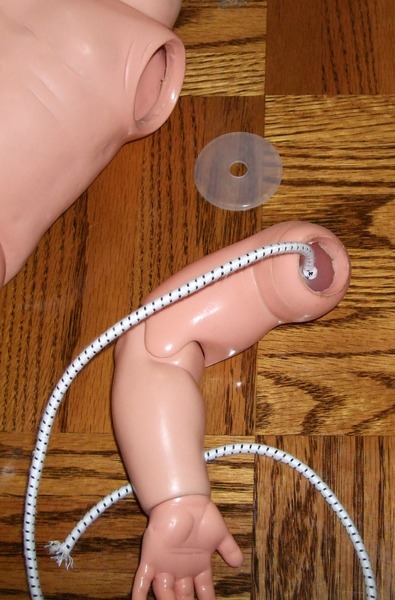
Tie a cord to the smaller washer (35mm). Use a large bead, or else your knot will slip through the hole in the washer. The photo above shows the plastic washer without a bead and you can see that the knot is already working its way through the hole.
I'm using these big plastic washers because they're the perfect size for Baby Dollikin, but the hole in the middle of the plastic washer is a little large. That's ok, we can adapt by using a large bead or a metal washer (from your guy's handyman stash.)
I've been using beads from hair ties because the hole is the right size for my cord. You can also find wood beads in various sizes with large or small holes. I keep an assortment of all these beads on hand. They're cheap.
You could also use a small metal washer instead of a bead. I've done that too, and it works great. Anything to keep the knot from sliding through the plastic disk. You just need to have a washer or bead that fits on your cord properly. Metal washers have small holes, so the important thing with them is finding one that will slide on the elastic cord.
****NEED A PHOTO of the assembly HERE ***
You can use #4 or #5 cord from our shop. Make sure the knot is on the outside of the bead, away from the washer. Or else your knot will pull through the hole in the washer.
INSERT THE 35MM WASHER INTO ARM:
Heat up the arm so the hole at the top is somewhat warm and flexible. I use a hair dryer for this.
Then insert the plastic washer, pushing the bead in first and sliding the disk in somewhat sideways. Be very GENTLE as you push, because the vinyl is not very flexible. In fact, it seems to be somewhat brittle. So push carefully, firmly, slowly... so the vinyl doesn't get cracked.
PREPARE THE 45mm PLASTIC WASHER:
Next, we need to attach the large washer (45mm size) to the arm, on the outside. This photo shows the large washer is tied to the arm:
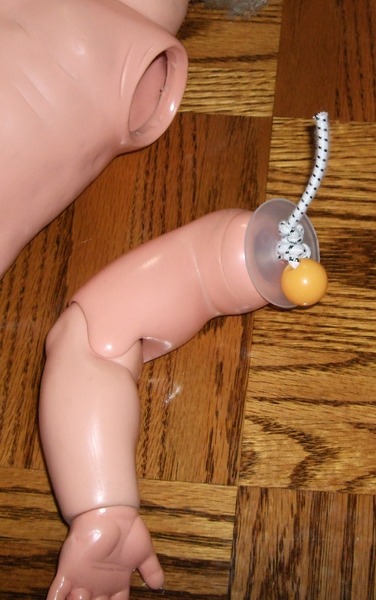
Again, use a bead or a metal washer. Tie the knot on the outside of the bead, well away from the washer. This photo shows that I did it wrong. The bead is there but the knot slithered around and even though I made an effort to make a nice big knot, it still had a tendancy to slide through the hole once everything was tight.
I had to start over. Using a metal washer is probably better than trying to get a bead to end up in the right place. The knot will slip through the plastic washer if you don't use a bead or a small metal washer to block the hole on the plastic disk.
****NEED A PHOTO of doll's arm with assembly HERE ***
When you tie the cord, make it as tight as you can, so the plastic washer disk is very snug against the top of the arm.
INSERT THE 45MM WASHER INTO THE DOLL'S SHOULDER:
Now heat up the doll's shoulder (with hairdryer) and when it's somewhat warm and flexible, push the plastic washer disk into the shoulder, using hemostats or needlenose pliers to help you do the pushing.
Now the arm is attached but it's loose. It won't hold position at the shoulder.
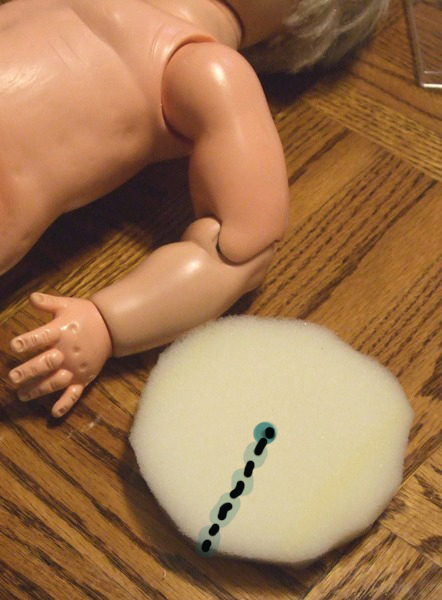
Cut a piece of foam rubber. I used 3/4 inch foam rubber that was scrap from something. You can adapt depending on what kind you have. You can get this cheap at craft stores or you may have scraps of it from various kinds of packaging.
Cut a generous circle. Cut a slice to the center (as indicated by dotted line) and then work the foam rubber into the shoulder, wrapping it around the cord in the center.
Just pull the arm out (as gently as possible) and use a hemostat or a blunt screwdriver to push the foam rubber into the gap. When you're done, the foam rubber will not show but it does fill in the gap: so the arm now holds positions.
This is not a solution that I would recommend for a play doll for children. But Baby Dollikin shouldn't be a playdoll anyway. She's almost 55 years old, she's a collectible antique. And she has metal parts that could rust if a child put the doll in water. And the vinyl is getting old now so it may not be as flexible as it was in the 1950's.
Our method of restringing the Baby Dollikin arm is a very good solution for a display doll. The solution should prove itself to be permanent, but if the arm gets loose and swingy later on, just insert some fresh foam rubber into the shoulder and it will probably solve the problem.
We have a special restringing kit for BABY DOLLIKIN in our doll shop. CLICK HERE to visit our supplies section at PrillyCharmin's doll shop.
|